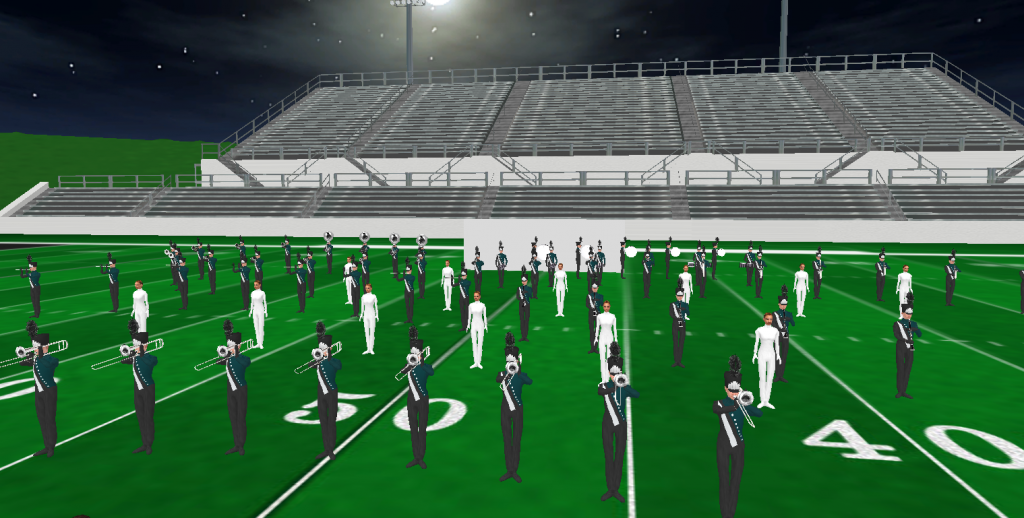
Writing drill is complicated on a bunch of fronts. To do it well, you’ve got to effectively address and manage a laundry list of requests and requirements from several different people. Then you have to use several different pieces of software (some of which are very complicated) and actually create something. It can all be really time consuming and intimidating. That’s why I’m going to put together some materials for those of you just getting started.

My goals with this material:
- To create a simple, easy to follow guide that walks a novice through the process of writing drill.
- Document my own process in a tangible way, so that I can share it with others and collect feedback from the community.
My target audience is:
- Anyone just getting started as a drill writer
- Band Directors who write their own drill, and want to be more efficient
- Music Ed majors that have to write for a class
I’m going to include screen shots, video captures, as well as some files and templates to help make things easier for anyone just getting started. I’ll be using Pyware Professional v9, as well as a few other applications. Some of the supplemental applications do require additional purchases, but I will do my best to provide free alternatives where possible. I am a PC user, working on an Asus Gaming Laptop running Windows 10.
Before I dig into documenting my own process for you, I want to put out a call for feedback from current drill writers as well as anyone just getting started. For current professional drill writers, please shoot me a note and let me know all the stupid stuff I’m doing wrong… I bet there’s a long list and I love learning new techniques. For people just getting started, don’t bang your head on a desk. If you get stuck on something, feel free to contact me. I’m passionate about this stuff and love helping people get into visual design.
Step 1: Prepping your Files
Before we start anything, there are several things you should have in your possession. Here’s a list of the things I always request:
- Instrumentation

Beyond just getting numbers, it’s also helpful to ask about groupings. There are a lot of different preferences here. - Guard Notes and details
This is a big one. In order to fully integrate and utilize the guard into the overall design, you’ve got to be on the same page as the guard designer. I could (and might) write an entire post on different ways to best facilitate gathering this information. - A Full Score w/ Percussion
Each season, it’s inevitable that I’ll have to write to a wind book without any percussion parts. In these cases, I like to have the percussion arrangers contact information on speed dial. Writing visual to a “yet to be written” 64 count percussion feature just sucks. If you have to do it, try to at least get some details or a skeleton of what they’re planning. - An Audio File (preferably with a click track)
The format isn’t terribly important as we’ll update it shortly, but the click track is something I always ask for. It makes the syncing process much easier and also can be a useful tool for staging w/ audio. - Coffee and a bag of pretzels

And if you’re writing for someone else, insert this one at the top of the list…
- Signed contract and deposit
Ask the crew at Drill Design HQ Group on Facebook. This is a big one. Here’s a copy of the current contract I use: JJVD Outdoor Design Contract 2017
Prepare your audio file
I’ve received the gamut of file types but Pyware will only accept a wav, mid, or ogg audio file. The trick here is to find a quick and easy way to convert a file to one of these formats. I generally use Adobe Audition to trim, tweak levels, and convert files. If you’re in a pinch, try http://media.io/. The site is free and will convert almost anything. I recommend using ogg files as they tend to be a bit smaller.
Generally, I create an mp3 at this step as well. It comes in handy more often than not (for both playback and sharing with design team members).
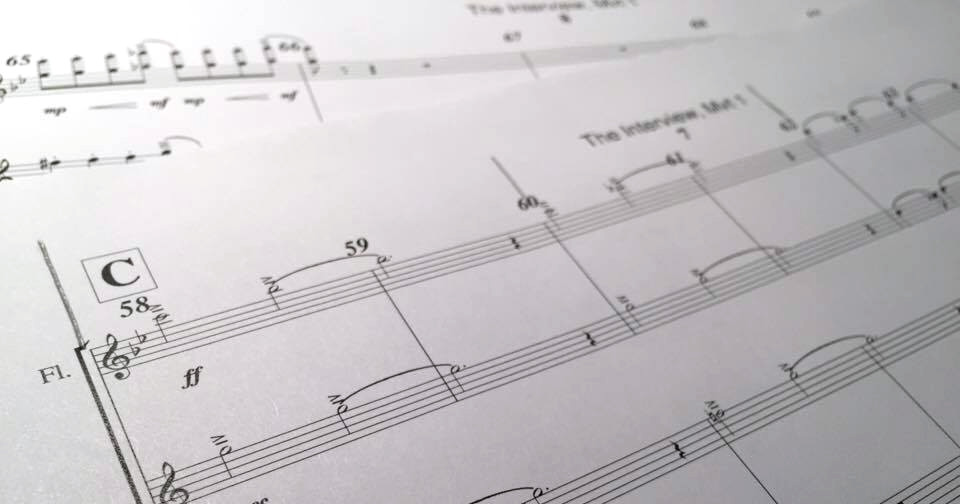
Print your Score and Mark it Up Before you Start
Fight the urge to just jump into Pyware and start writing block rotations. I often do Steps 2 and 3 simultaneously, and have found that it makes my life a lot easier. Here’s why:
- It forces me to get really familiar with the music before I start in on anything.
- It will help me get a rough sense for how many sets are going to be in a movement. This is important as many directors like to keep the number of sets for an entire show under a certain cap. If they want 50 charts total, don’t write a 30 chart opener.
- It helps me to plan out arrival points before I start. Aim at nothing and you’ll hit it every time.
I always print a physical copy of the score. I find it’s just easier for me to work with a printed copy that I can spread out on my desk. Next, I like to mark up the score to determine my set divisions and highlight areas of high demand. I typically do this by drawing vertical lines above the measures throughout the score and circling tricky musical segments. This process usually means listening to the segment multiple times, pencil in hand.
Here’s an example…
Note that with this step, and the next, what I’m really doing is just creating a sketch. Nothing is “locked in” so I wouldn’t spend hours on this step.
Fill In the Production Sheet
This step is really just taking what you’ve done in step 2, and converting it to a digital format. I have to thank Tim Fairbanks for teaching me this several years ago and now I can’t imagine doing it any other way. Here’s the template file I use: Production Sheet Template.
Here’s a few advantages to doing it this way:
- It creates a digital file that can be easily shared with other staff and design team members before starting.
- It saves you from having to manually create a bunch of page tabs in Pyware (I’ll walk you through the import process later).
- It’s an easy way to populate lots of information into the production sheet of your drill file, which can later be included on the printed charts. I’ve also found that it’s easier to type lots of information into an application like Microsoft Excel than it is to type in the production sheet in Pyware.
There are 10 columns in the spreadsheet, and you can use or leave most of them blank. I’ll share how I use each column below:
- Subset – I don’t use this
- Count – This is a calculated column, dynamically updated from the Transition Column.
- Measures
- Title – I use this column for rehearsal letters
- Note 1 – I use this column for “Visual Notes”. It’s often mostly blank and will be populated once I am actively writing. I will however mark my “arrival points” in this column.
- Note 2 – Woodwind Notes
- Note 3 – Brass Notes
- Note 4 – Percussion Notes
- Note 5 – Guard Notes
- Transition – This is the most important column in the sheet. You’ll enter in the number of counts for each move in the segment.
Here’s a simple example of a completed sheet: Production Sheet Example.
Note: It’s really a matter of preference as to how much information you want to enter into the production sheet at this point. I often find that at the end of a long writing session, I feel like I’ve climbed Everest and don’t really want to go back and add lots of notes. That said, you could wait and do it at the end of the writing process if you prefer.
Once you finish filing in your sheet, you’ll need to save it into a format that Pyware will accept. To do this in Excel,
- Click the “Save As” option,
- Find the folder you’d like to save to, enter a title for your production sheet and in the “Save as Type” dropdown, select “Text (Tab delimited) (*.txt)”

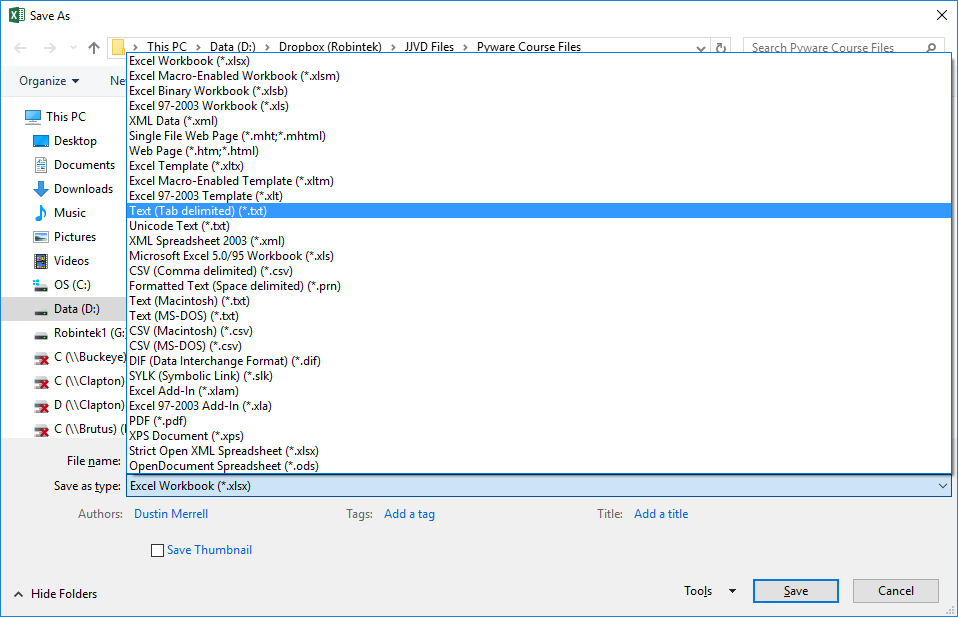
Note that Excel will likely give you warnings that you are going to lose some features by saving to this format. This is because a text file does not allow for formulas. Go ahead and click “Yes” and save the file. I’m a digital pack rat so I also save a copy as an Excel Spreadsheet (.xlsx) file in case I want to come back later and make changes.
Coming up in the next post…
- I’ll share my template file to speed up the start up process
- How to import your production sheet
- How to import your audio and sync it
- How to add or remove extra counts from the template file
Now you’re ready to start writing the show…
If you’re interested in this material, and want to be notified when I add the next post, please take a second and enter your information below!
"*" indicates required fields